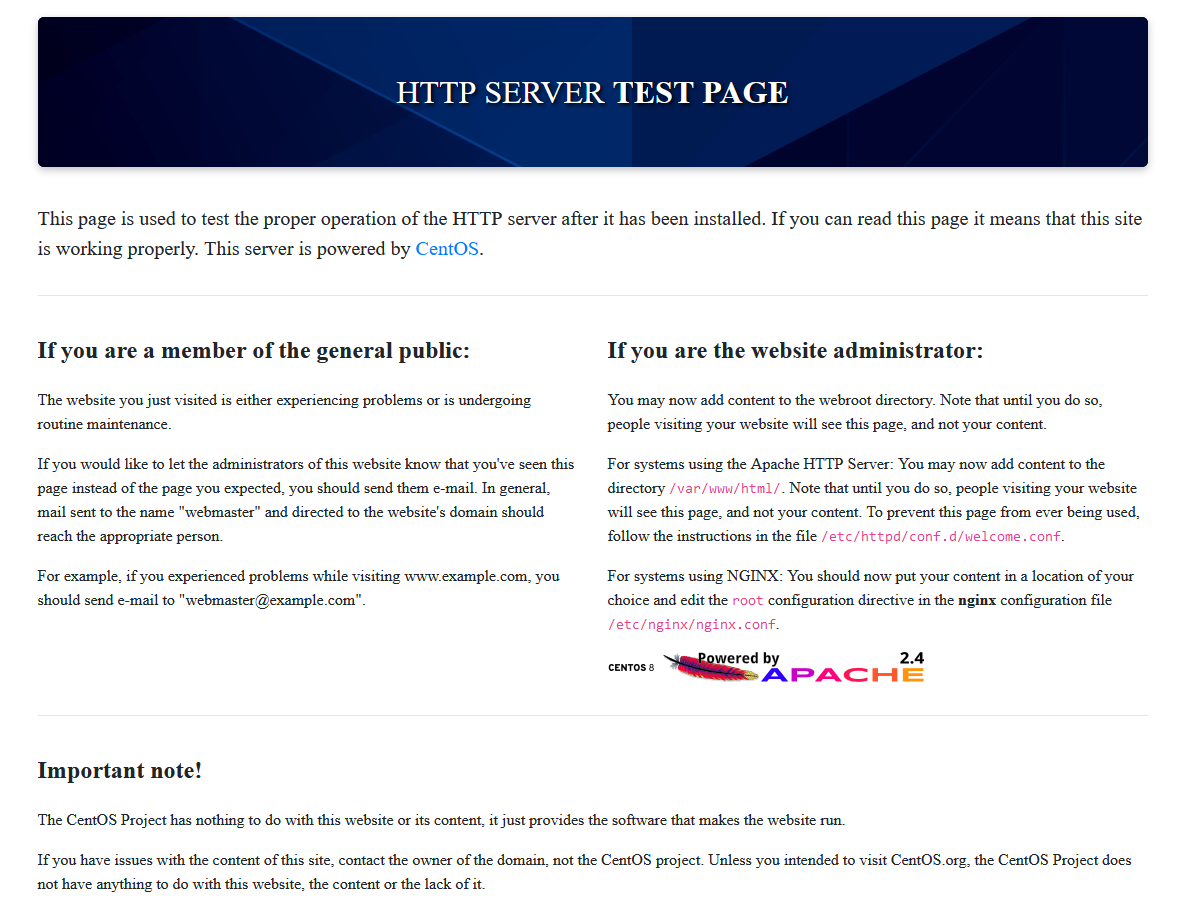
Server Apache HTTP adalah server web yang paling banyak digunakan di dunia. Apache server menyediakan banyak fitur canggih termasuk modul yang dapat dimuat secara dinamis, dukungan yang kuat, dan integrasi ekstensif dengan perangkat lunak populer lainnya.
Step 1 – Instalasi Apache
Untuk instalasi, dapat menggunakan command:
sudo dnf install httpd
Setelah instalasi selesai, berikutnya adalah konfigurasi firewalld agar web server dapat diakses dari komputer lain.
sudo firewall-cmd --permanent --add-service=https
sudo firewall-cmd --permanent --add-service=http
Selanjutnya reload firewalld untuk memperbaharui konfigurasi.
sudo firewall-cmd --reload
Step 2 – Cek Web Server
Pada CentOS, setelah instalasi Apache, web server tidak otomatis jalan. Kita perlu menjalankan Apache secara manual.
sudo systemctl start httpd
sudo systemctl enable httpd
sudo systemctl status httpd
Berikut adalah contoh out dari status Apache.
● httpd.service - The Apache HTTP Server
   Loaded: loaded (/usr/lib/systemd/system/httpd.service; enabled; vendor preset: disabled)
  Drop-In: /usr/lib/systemd/system/httpd.service.d
           └─php-fpm.conf
   Active: active (running) since Thu 2021-07-29 22:59:54 EDT; 55min ago
     Docs: man:httpd.service(8)
 Main PID: 73168 (httpd)
   Status: "Total requests: 6; Idle/Busy workers 100/0;Requests/sec: 0.00182; Bytes served/sec: 125 B/sec"
    Tasks: 213 (limit: 11388)
   Memory: 34.4M
   CGroup: /system.slice/httpd.service
           ├─73168 /usr/sbin/httpd -DFOREGROUND
           ├─73170 /usr/sbin/httpd -DFOREGROUND
           ├─73171 /usr/sbin/httpd -DFOREGROUND
           ├─73172 /usr/sbin/httpd -DFOREGROUND
           └─73173 /usr/sbin/httpd -DFOREGROUND
Jika Apache sudah aktif, kita dapat mengaksesnya melalui url:
http://your_server_ip

Step 3 – Pengaturan Apache Process
Start web server:
sudo systemctl start httpd
Stop web server:
sudo systemctl stop httpd
Restart web server:
sudo systemctl restart httpd
Reload web server:
sudo systemctl reload httpd
Enable web server:
sudo systemctl enable httpd
Disable web server:
sudo systemctl disable httpd
Step 4 – Pengaturan Virtual Host pada CentOS
Buat folder untuk file konfigurasi VHost
sudo mkdir /etc/httpd/sites-available /etc/httpd/sites-enabled
Tambahkan konfigurasi folder sites-enabled pada file httpd.conf
sudo nano /etc/httpd/conf/httpd.conf
Kemudian tambahkan baris berikut:
IncludeOptional sites-enabled/*.conf
Buat file VHost pada folder sites-available.
sudo nano /etc/httpd/sites-available/contoh1.conf
Masukkan code di bawah ini:
<VirtualHost *:80>
    ServerName example.akal.id
    ServerAlias www.example.akal.id
    DocumentRoot /var/www/html/public_html
    ErrorLog /var/www/html/log/error.log
    CustomLog /var/www/html/log/requests.log combined
</VirtualHost>
Kode di atas akan memberikan informasi kepada apache lokasi tempat menyimpan file program untuk website.
Setelah VHost berhasil dibuat, untuk mengaktifkannya, buat link ke sites-enabled dengan cara:
sudo ln -s /etc/httpd/sites-available/contoh1.conf /etc/httpd/sites-enabled/contoh1.conf
Kemudian masukkan perintah berikut untuk memberi tahukan SELinux bahwa membolehkan httpd untuk mengakses konten.
sudo setsebool -P httpd_read_user_content 1
Langkah terakhir, restart httpd dengan perintah:
sudo systemctl restart httpd


 Users Today : 259
 Users Yesterday : 725
 This Month : 20921
 This Year : 113819
 Total Users : 178306
 Views Today : 850
 Total views : 762056
 Who's Online : 5
Recent Comments